Today I was looking for a way to do rain ripples in a shader for UE4 and found this tutorial by Taizyd Korambayil that explains it well but his website is broken and I made a few tweaks myself so I thought to reproduce it here.
This is a very simple rendering of it with a flat background because the project I made it for is a secret but when you put this on your water shader that has some kind of animation going on (waves, caustics, noise, transparency, movement, reflections, whatever) it’s much harder to notice the tiling of it, you’d need to stop and be looking for it.
ShareX refuses to cooperate and keeps inserting my cursor in the gif recordings for some reason. But this gets the point across so you’ll have to live with it.
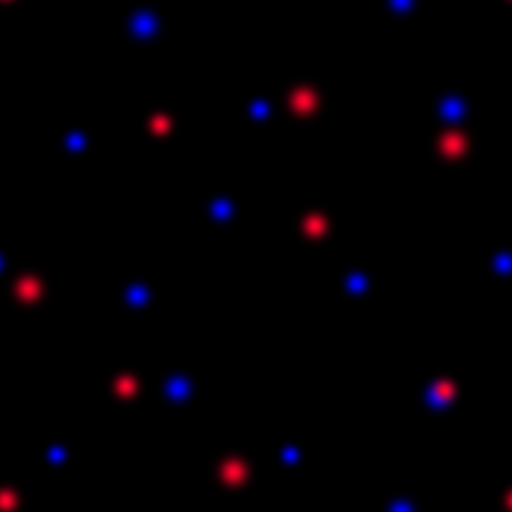
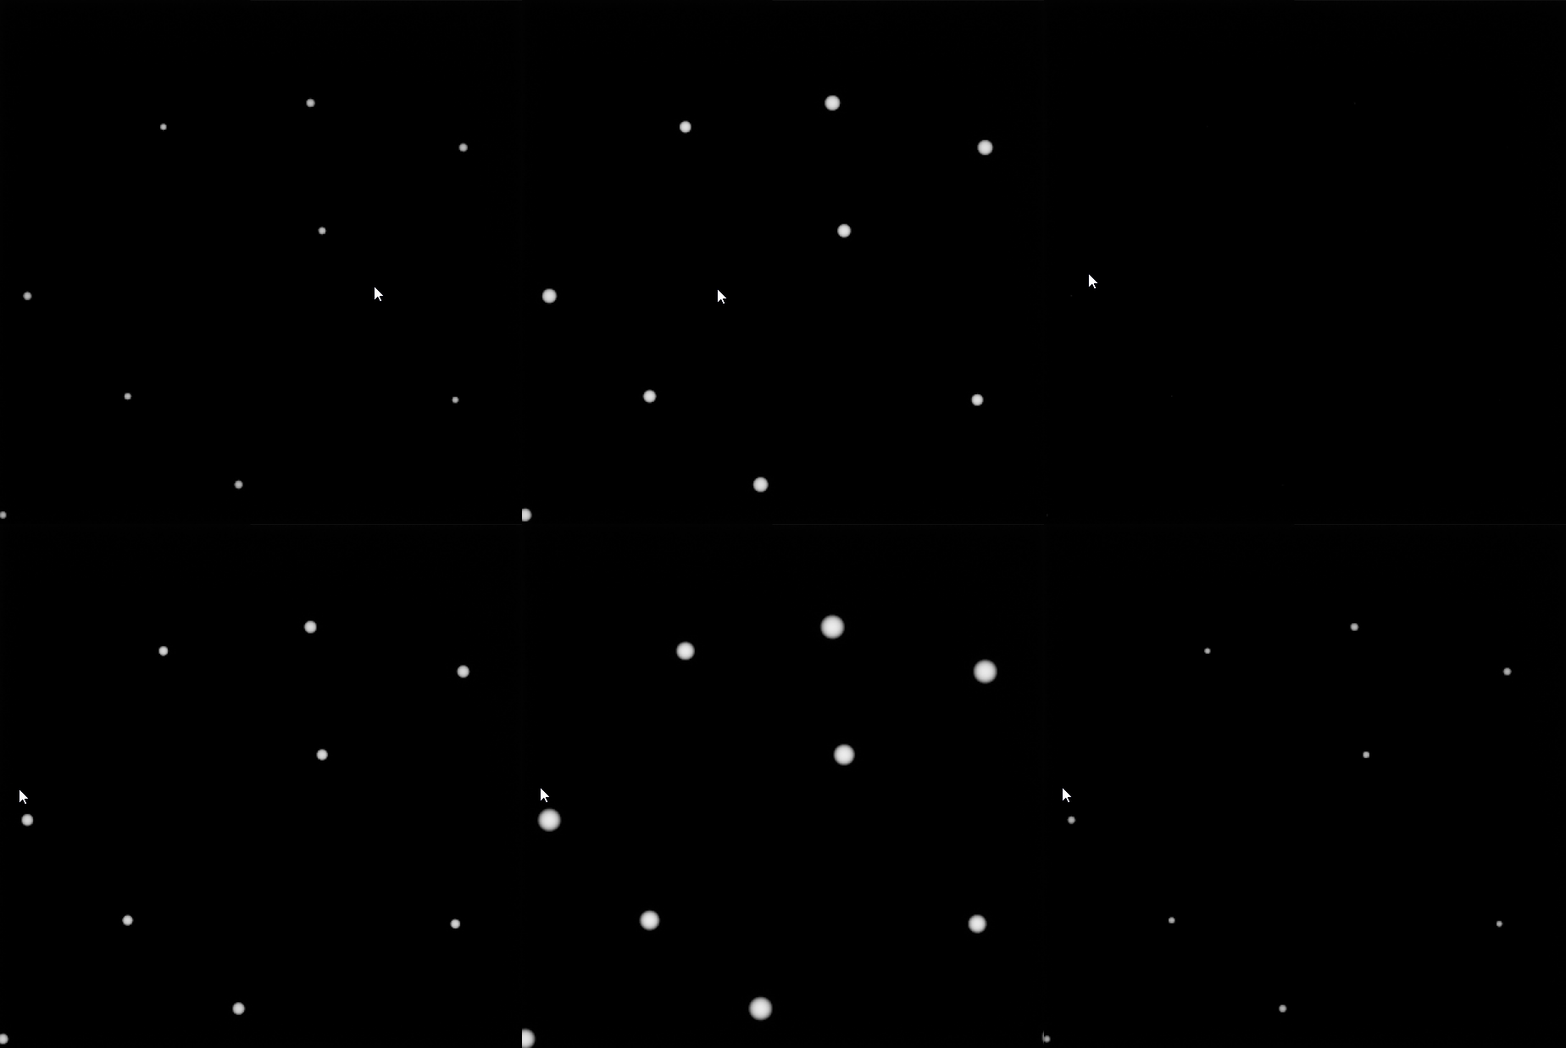
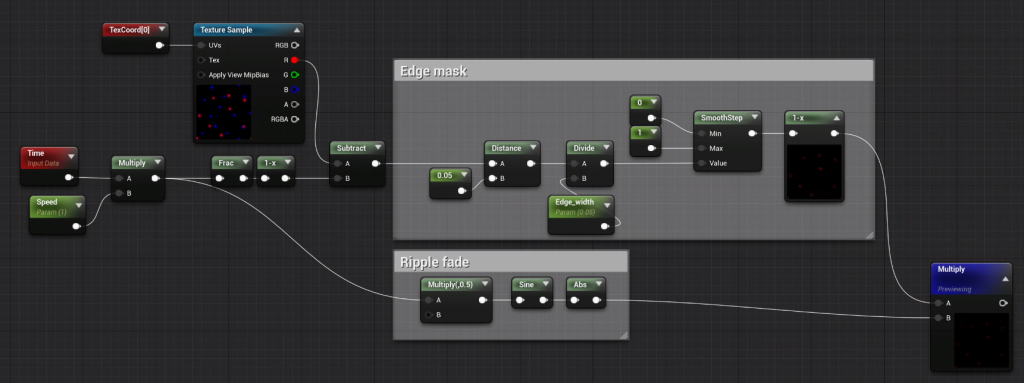
So first we start by getting the UVs we’re going to use, in my case I was using world space but for sake of simplicity I’ll use good ol’ TexCoord[0] and hook it up to our texture. Then using the Time node and frac we get infinite repetition of 0 – 9 that will achieve the looping animation, and use the subtraction and (1-x) node to be able to grow the circles from inside to outside. It’ll look like the gif on the right here.
Then the nodes inside the Edge mask comment box are getting the outline/edge of these bubbles, which will become our ripples. That (1-x) node will give you a result that already looks like ripples but it’s a bit too harsh in the looping of the animation. The 3 nodes on the bottom, Ripple Fade, multiplied by the edges will give us a nice transition.
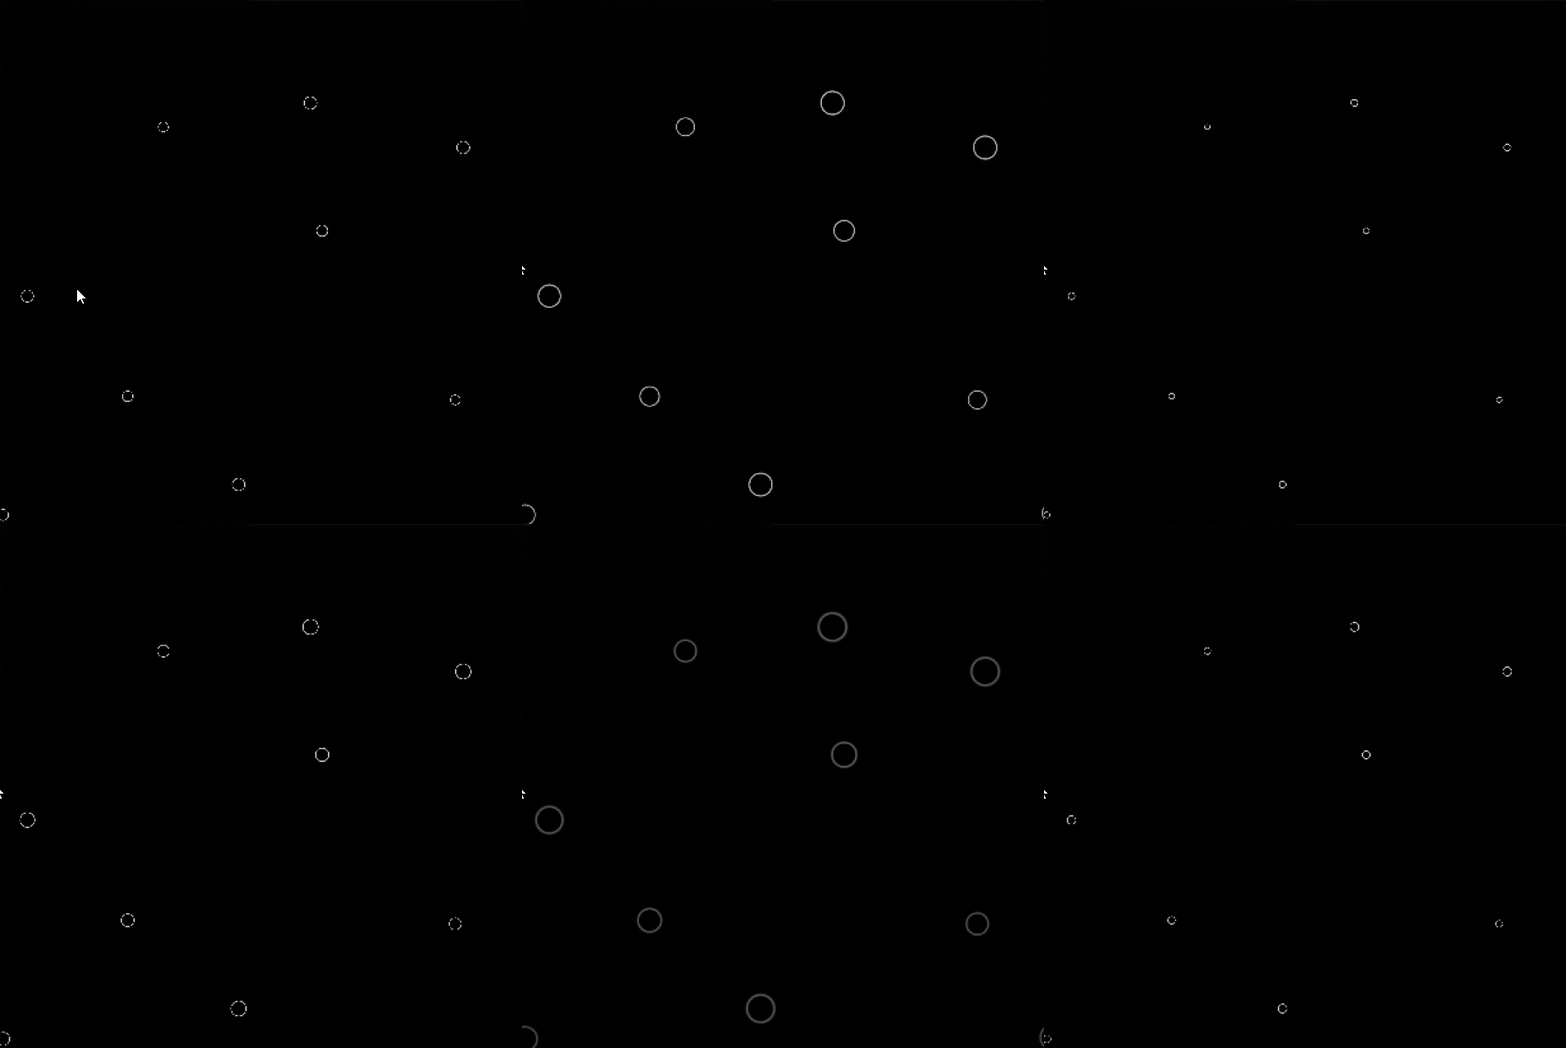
This gif to the left is what you should be seeing as a preview in the multiply node. Then we’re going to duplicate these nodes and add an offset to them in two different ways. One is by adding 0.5 to the Time node before mutliplying it and to the UVs themselves before the Panner node to one of our 2 sets of nodes. That panner node will move our texture after every loop, this is one of the tweaks I added to Taizyd’s method and what I think adds the cherry on top to the non-tiled look. For the speed I did a bunch of random decimals, and in Time I use the same Time node (with the Add offset included) but I Ceil it, this way it will move the texture while it’s completely masked out so if you’re just looking at one spot expecting the ripple to repeat there you’re gonna be waiting for quite a while.

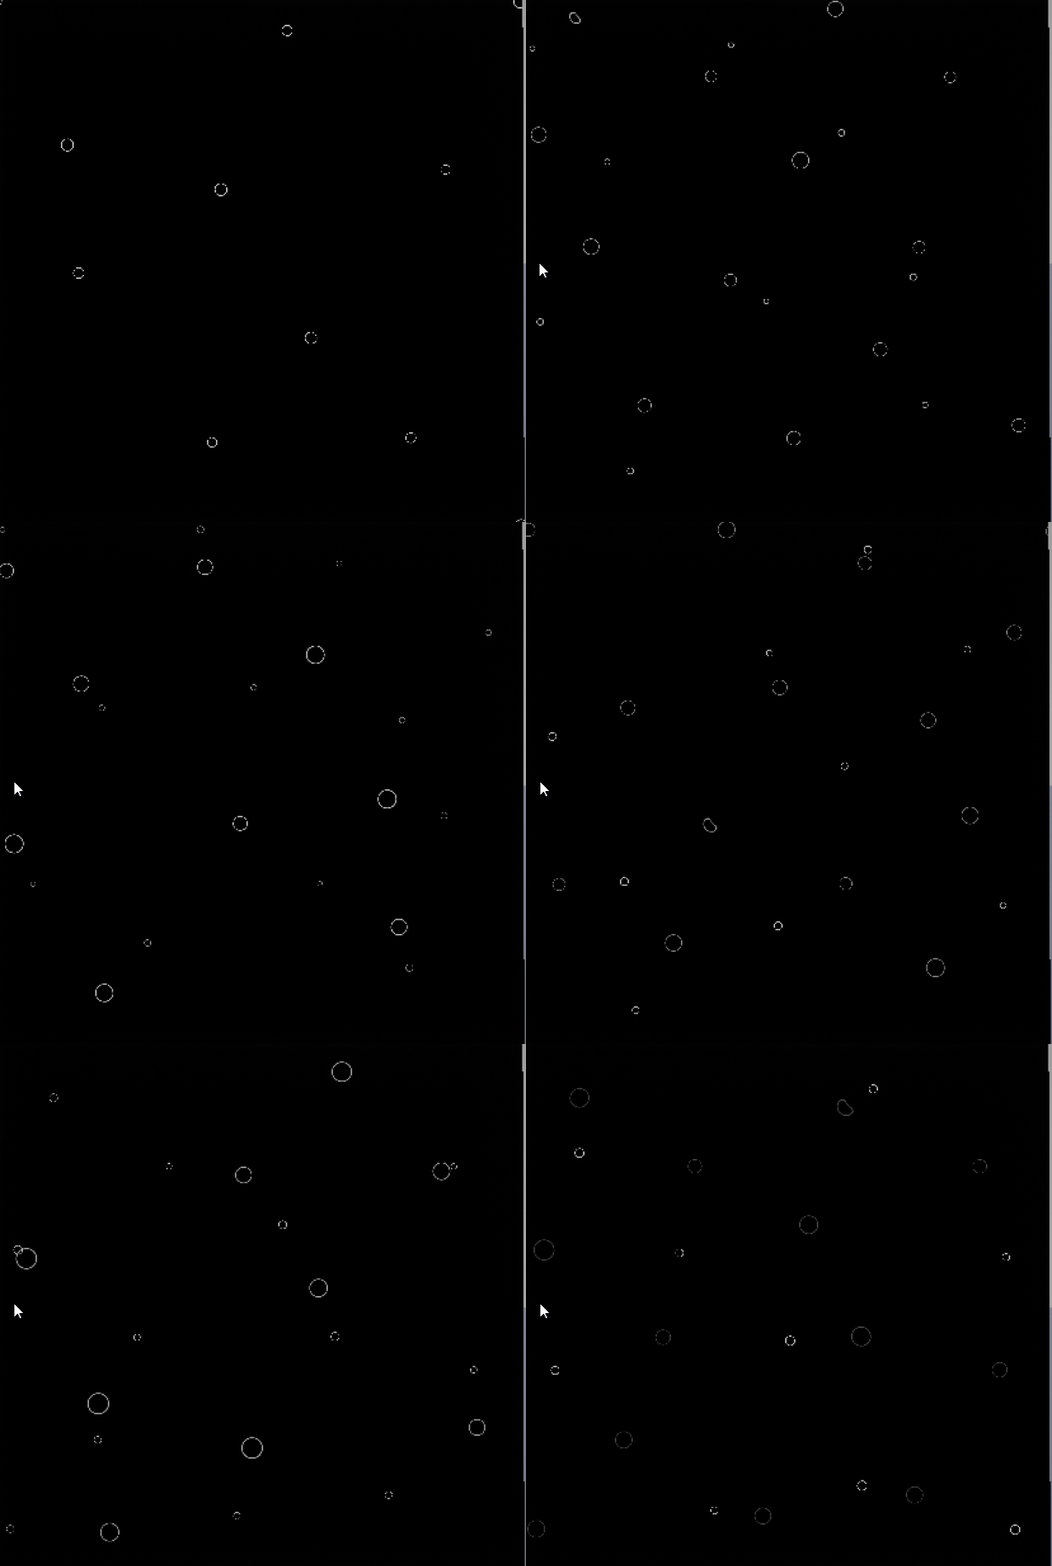
We connect both sets of nodes with a Lerp (ilustrated here on the right), using the offsetted Ripple fade nodes as Alpha. Thanks to the offset that we added to one of the sets they ‘take turns’ showing up. Then I multiplied this by a mask that’s also (in my case) using world space UVs, this helps a lot to break the tiled look of it. Another thing that I did to help break the tiled look is use both Red and Blue channels so that each node set is using a different one, since I’m already reading the texture twice I might as well make good use of it.
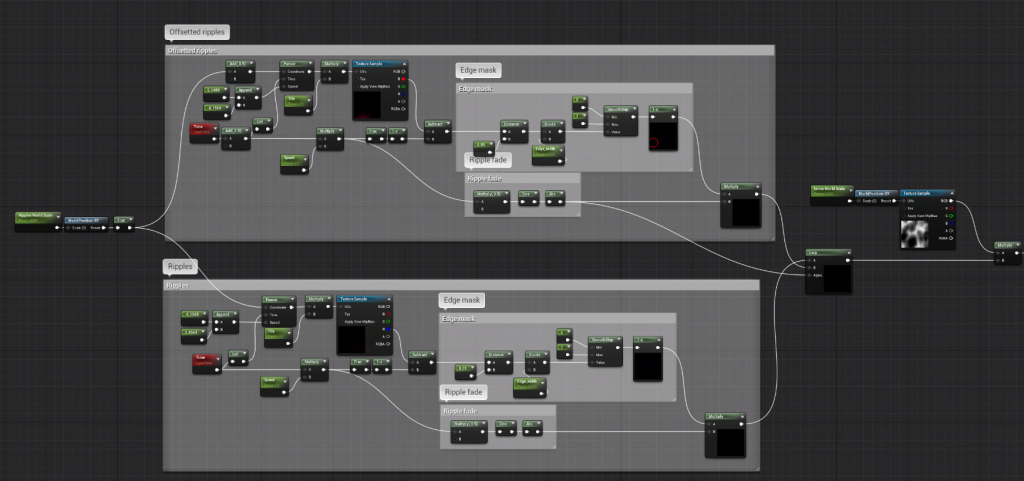
And that’s basically it. He also shows how to use this same technique to add a normal map to it and other cool fancy stuff but this is all I needed for my project so it’s what I have. If you want to see his method, results, and normal map explanation go check out his article here. In order for me to understand what was going on I had to reference the repository to find the images since they seem to be broken in the article. To know which image is which you can right click on it, copy the URL, paste it somewhere, and see the name, then find it in the repo.
MISTAKE FIX: Just realized that for the Speed parameter to work it should go before the Ceil node, not after.
Cheers ✌🏻


